
PhotoLesa's photography gear provided by:


Welcome to part 3 of the Photoshop: The Missing Maual Teaser series. Since I've been going back and forth with my editor getting the typography chapter in tip-top shape, I have yet another text tutorial for you. Unfortunately there's no equivalent in Elements, so this one is for Photoshop only.
There are a multitude of special effects that can be created with type that has been converted into a vector shape or path. Though the text becomes uneditable, the former type layer is morphed into a living, breathing, and resizable, distortable piece of art or editable path.
All you have to do is select the type layer and choose Layer > Type > Create Work Path or Convert to Shape. Such miraculous transformations allow you to:
Step 1: Grab the Type tool by pressing T and set some type. Tip: If you want to resize text visually while you're typing it, press and hold the Command key (PC: Ctrl) then drag any of the resulting corner handles (hold Shift to resize the text proportionately). To move the text around on the page, position the cursor inside the box and drag.

Step 2: Trot up to the Layers menu and choose Convert to Shape.

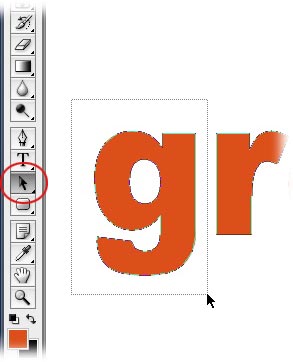
Step 3: Press A to activate the Path Selection tool and draw a box around the letter you want to spin and move, or just click within the letter. You'll see little gray points surround the letter.
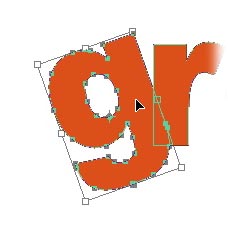
Step 4: Summon Free Transform by pressing Command + T (PC: Ctrl + T). Rotate the letter by hovering your cursor just below and outside one of the corner handles. Drag in either direction to rotate.

Step 5: Move the letter so that it overlaps the one to its right by clicking and dragging within the transform box.
Step 5: When you're finished rotating and moving each letter so that it touches its neighbor, use the Path Selection tool to draw a box around all the letters, like so:
Step 6: Hop up to the Options bar and click the Exclude Overlapping Shape Areas button, circled below.

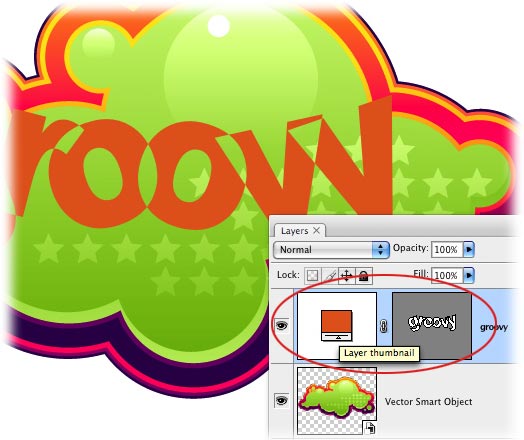
The result is that wherever the letters touch, the background of the document can be seen through them, like a cut-out. Just click anywhere else within the document to get rid of the points.

Step 7: After placing a piece of beautiful vector art from over at iStockphoto, I wanted to see how the text looks if I picked up a color from the illustration. This is easily done by double-clicking the shape layer.
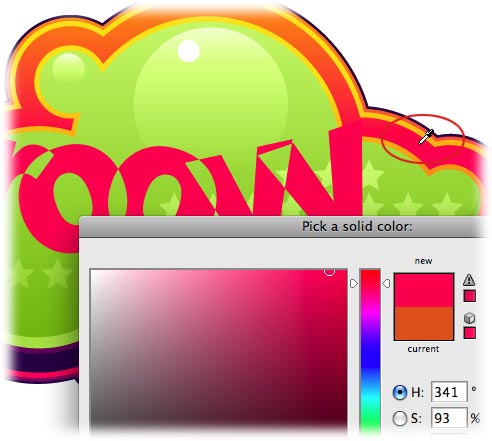
Step 8: In the resulting Color Picker, use the eyedropper cursor to grab a color from the illustration. Your cursor will automatically change once you mouse away from the Color Picker dialog, so just give the new color a click and your text will take it on instantly.
Here's the final result with the opacity of the illustration layer lowered slightly so your eyes don't bleed at the brightness:

Groovy, eh? Notice how you can see through the intersecting areas of the type to the background below.
Until next week, may the intersecting force of type be with you all!


PhotoLesa's photography gear provided by: