
PhotoLesa's photography gear provided by:


I just love Photoshop Elements and the new version 6 is a galactic value for the money. One of my favorite new features is a filter that was snatched from big brother Photoshop called Correct Camera Distortion (though over there it's called Lens Correction and it's hiding in the Distort filter category). Oh sure this filter has the power to correct edge vignetting from lower quality lenses but that's not what we're going to use it for. Oh no. I've got something much more creative in mind.
Today I'm going to show you how to make a portrait pop adding a dark edge vignette. It's the quintessential "Olan Mills Effect" (a professional photo studio which I was trotted to a gazillion time as a child), and by the end of the tutorial, you'll understand why. But pay close attention! This tutorial is literally three steps long :)
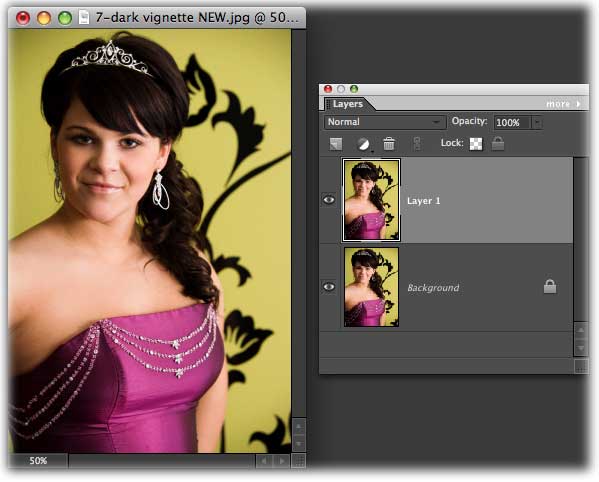
Step 1: Open a Soon-To-Be-Popped portrait and duplicate the background layer by pressing Command + D (PC: Ctrl + D).
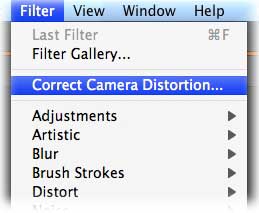
Step 2: Choose Filter > Correct Camera Distortion.
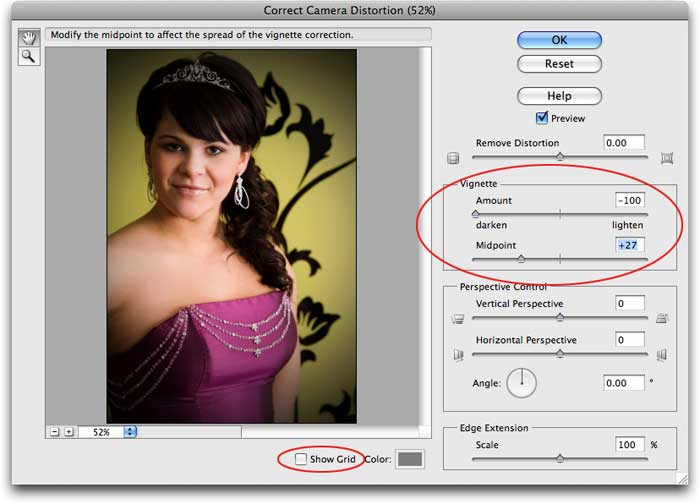
Step 3: In the resulting dialog, uncheck the Show Grid option at the very bottom so you can see what you're doing. Next, trot on over to the right side of the dialog and drag the Vignette slider all the way to the left. To darken the edges a little more, drag the Midpoint slider towards the left as well (though not all the way).
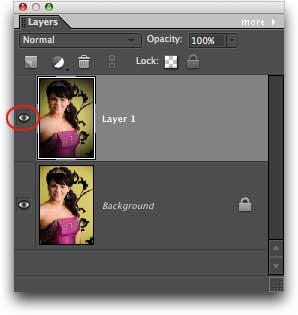
To take a peek at the before and after, head on over to the Layers palette and toggle the visibility eye off on the duplicate layer.
Here's the before and after:
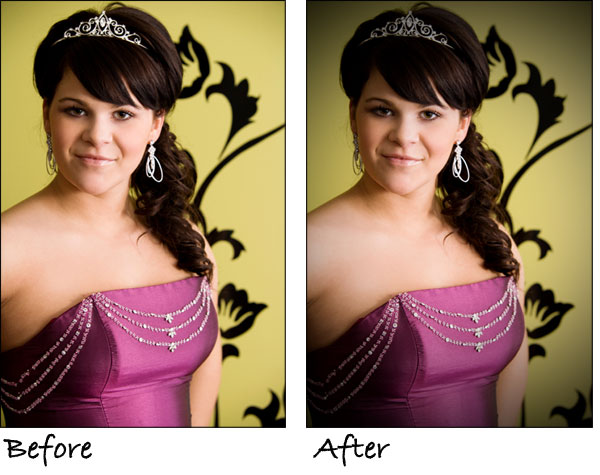
It's amazing what a difference such a small thing can add to an image. This little trick is also great for giving an image an aged look, and works really well when used in conjunction with a sepia- (brown) toned image.
Until next week, happy portrait popping!


PhotoLesa's photography gear provided by: