
PhotoLesa's photography gear provided by:


What's the easiest way to emphasize a particular bit of your image? Make it black and white with just a bit 'o color. Though it may sound complicated, it's much easier than you imagine. All it takes is a color image, a Hue/Saturation adjustment layer, and the History Brush.
Of course, there are a gazillion ways to go about doing the same thing in Photoshop, though I hope the method I’m about to show you proves to be the most user friendly and non-destructive :)
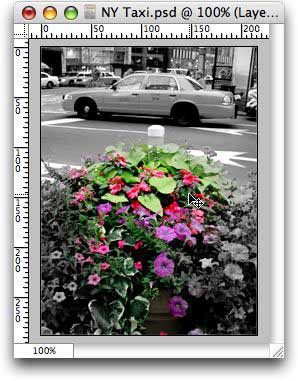
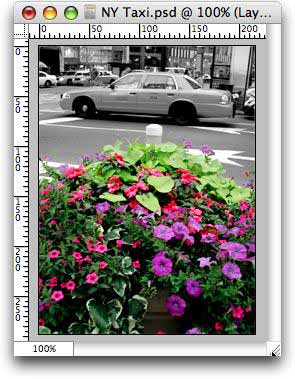
Step 1: Open an image and decide which bit you wish to colorize. In our case, it's going to be the group of flowers in the front of the taxi cab. Double-click the Background layer in the Layers palette to make sure it's editable (rename it anything to get rid of the protective padlock.)
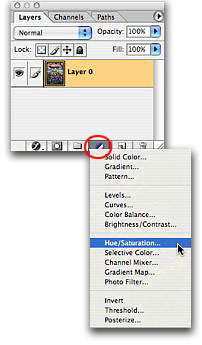
Step 2: Zap the color! To ensure we don't harm our original image, we're going to remove its color by using an Adjustment Layer. Just click once on the half black/half white circle icon at the bottom of the Layers palette, and choose Hue/Saturation from the flyout menu.
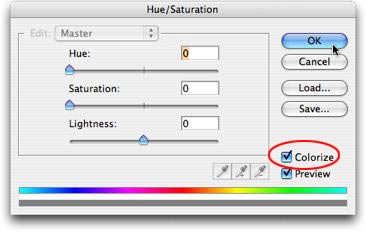
Step 3: Click the colorize checkbox (circled in red below), and pull the Saturation slider all the way to the left. This takes all the color right out of your image. Our results look pretty good, but feel free to experiment with adjusting the Lightness slider as well. Messing with the Hue slider won’t do anything, because we just zapped all the hues right out of it. NOTE: Play with the Saturation slider bar to get a sepia tone look.
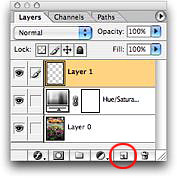
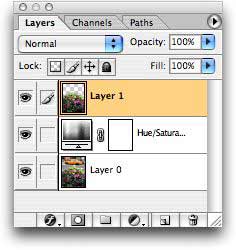
Step 4: Create a new layer by clicking the paper-looking icon at the bottom of the Layers palette (circled in red below). Make sure this layer is at the top of your layer stack. Your Layers palette should look like this:
Step 5: Trot over to the toolbar and grab the History Brush (circled in red below). Press the D key to make sure your color chips are set to default black and white (also shown below). Press X, if necessary, to make black the topmost chip. The idea here is to paint with black in order to undo what we did in Step 3 above (hence the name, History Brush), which was zapping the color from our image. In effect, we’re going to paint a mask that allows the original history state (that of having color) to show back through.

Step 6: Start painting on your image and watch the color start to return. TIP: You can cycle through different brush sizes by pressing the left and right bracket keys ([, ]). Quickly zoom in and out by pressing Command + or – (PC: Control + or –) in order to more closely see what you’re doing.
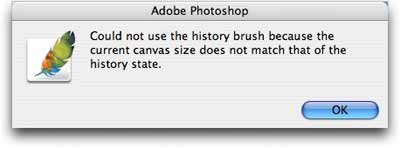
NOTE: If for some reason you’re met with an error dialog box when you attempt to paint with the History Brush (such as the one below), be sure that haven’t resized your image or changed the canvas size after you removed the color in Step 3. You really don’t want to do much of anything between Steps 3 and 4, else Photoshop won’t be able to remember the exact state of your image in order to undo it with the History Brush.
As you can see below from our finished product, this makes for an interesting, very quick effect. Experiment and see how creative you can get with your own photos! For example, a wedding photographer could turn an image into grayscale, leaving only a beautiful bridal bouquet in full color. That’s just one idea of many.
And, as you can see from our Layers palette below, none of the original pixels were destroyed in this process. To start over, you just toss everything but the original image layer.
That’s all for now!


PhotoLesa's photography gear provided by: