
PhotoLesa's photography gear provided by:


Not too awfully long ago I showed you how to turn a photo into a pencil sketch, then a painting, so in keeping with the whole "Things You Can Turn A Photo Into" idea, today I thought we'd shape-shift a photo into a blueprint. Sound exciting? Actually, it really is. Though the tutorial itself is a little long in the tooth, you'll learn several extremely useful editing techniques that will serve you well over your pixel pushing career.
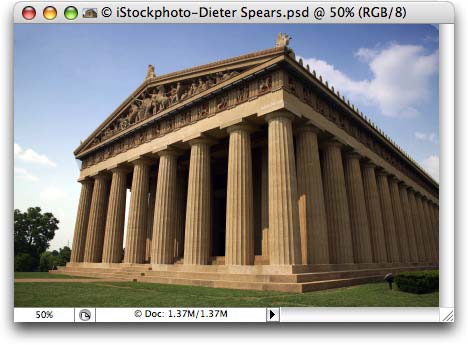
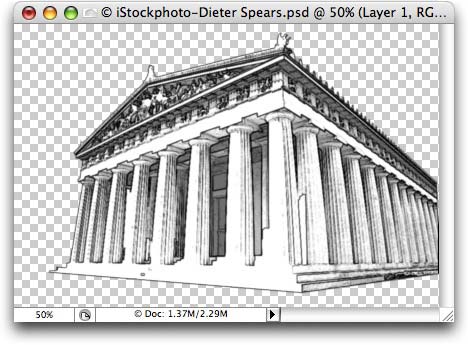
For today's project, I used a photo of the Parthenon in Nashville, TN. Yes, you read that right. We have a genuine replica of the large Greek beauty right here in Music City; and, quite honestly, nobody knows why. Seriously. It's just there. In a park. For no apparent reason. (All kidding aside, Nashville is referred to the "Athens of the South" because it has so many universities!)
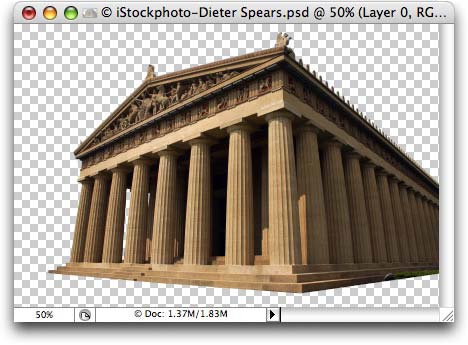
Step 1: The first step is to isolate the object from its background. Since there are a gazillion ways to do this, I won't repeat them here; however, I will say the Background Eraser is my hero today.
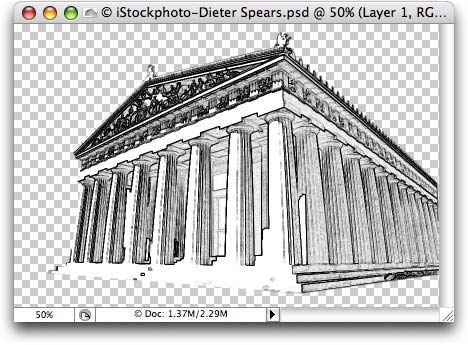
After a few quality moments spent with the Background Eraser, I now have this:
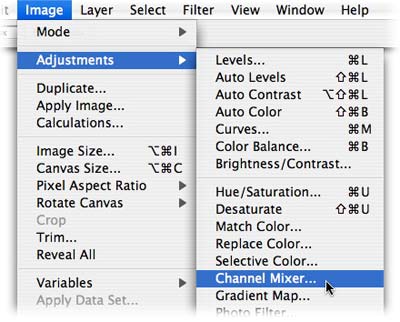
Step 2: Hop up to the Image menu and choose Adjustments > Channel Mixer.
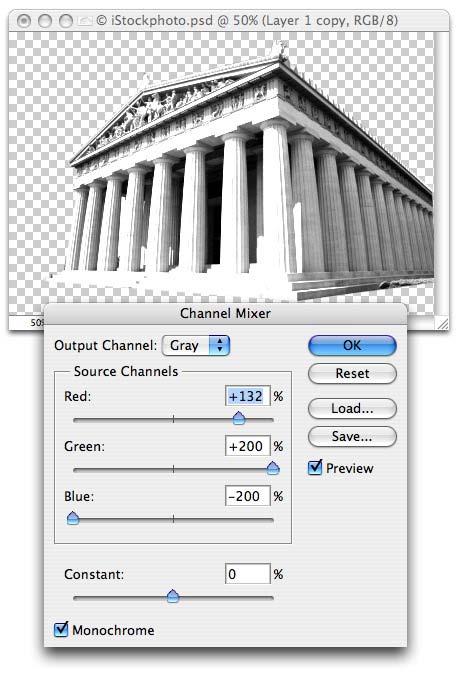
Step 3: In the resulting dialog, check the Monochrome option at bottom left. Play with the Source Channel and Constant sliders until you get some good contrast going on. Press OK.
Step 4: Choose Filter > Stylize > Find Edges, and we end up with a rather harsh-looking pencil drawing:
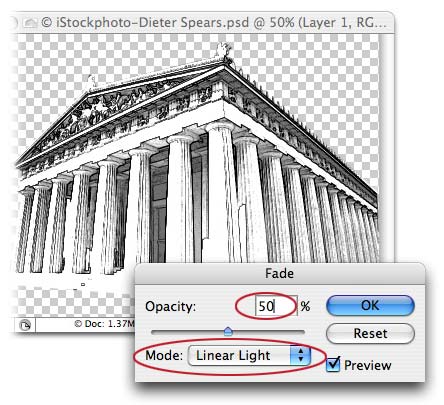
Step 5: Choose Edit > Fade Find Edges and in the resulting dialog, enter 50% for Opacity and Linear Light for Mode. Press OK.
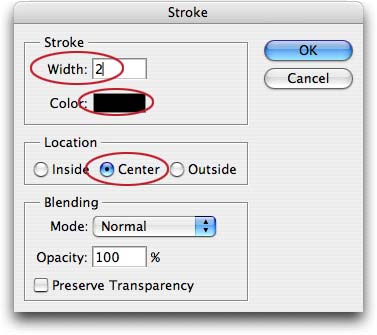
Step 6: To outline the outer edge of the object, choose Edit > Stroke and enter a width of 2 pixels, choose black from the Color well, Center for Location and press OK.
Step 7: Choose Filter > Blur > Gaussian Blur, enter a Radius of .8 and press OK.
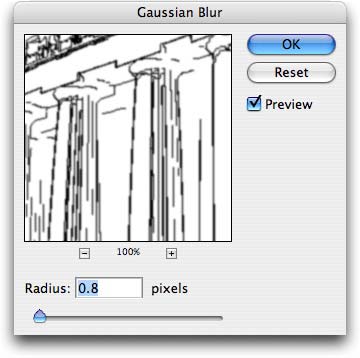
This is what we have now:
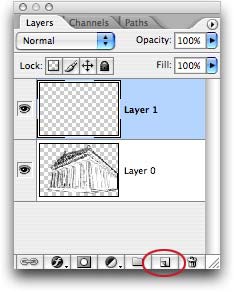
Step 9: Click the new layer icon at the bottom of the Layers Palette to create a new layer.
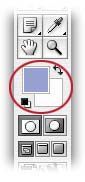
Step 10: In the main toolbox, pick a purplish-blue as your top color chip, and white as the bottom.
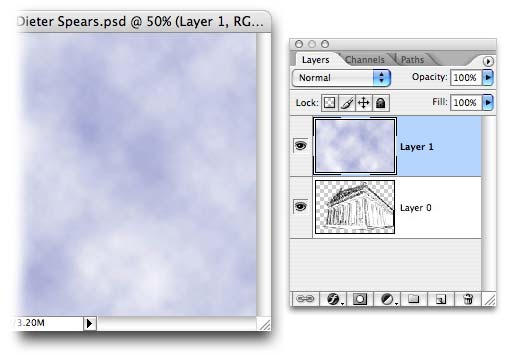
Step 11: Choose Filter > Render > Clouds and you'll see the white and blue mix together on the new layer, like so:
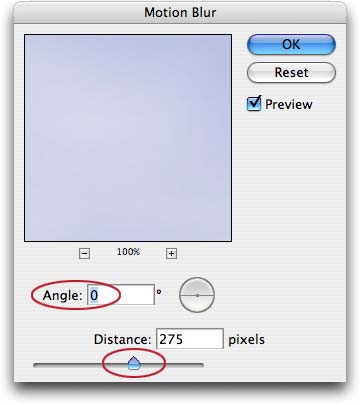
Step 12: Blend the clouds together by choosing Filter > Blur > Motion Blur. In the resulting dialog, enter an Angle of 0 and a Distance of 275 pixels. Press OK.
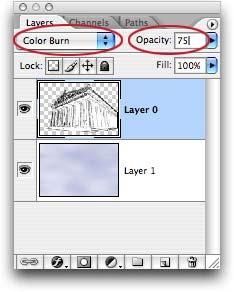
Step 13: In the Layers Palette, drag the original layer to the top of the layers stack, above the blue paper you just created. Change its blend mode to Color Burn, and adjust the opacity slightly if it looks too dark.
That's it! Here's the finished product:

Not bad! At this point you can continue on and add fold lines, technical data, etc. etc. to make it look more realistic.
That's all for now! Until next week, may the creative force be with you all :)


PhotoLesa's photography gear provided by: