
PhotoLesa's photography gear provided by:


Remember how the original Starship Enterprise looked when it went to warp speed? It was like the whole ship moved so fast that is stretched; part of it lingered yet the bulk of it was long gone. It's similar to how the Bionic Woman looked when she ran. It's like they both left a stretched, blurry tail in their wake.
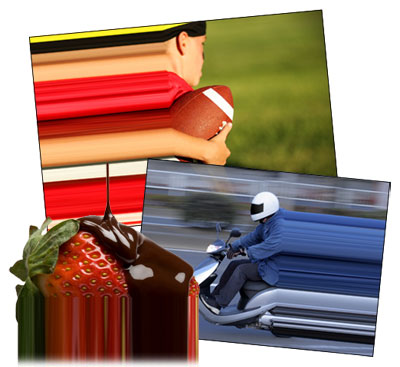
Well, there's a super easy way to recreate such a warp trail effect in both Photoshop Elements and the full blown version of Photoshop. (The steps are nearly identical too.) And I'm here to tell you that though it's admittedly cheeseball-ish kind of effect, it's really rather neat looking. Honest! I tried it out on a few photos plucked from iStockphoto.com and the results were most amusing.
Let's start with a photo of a really cute flag football boy, and give him a little warp trail of his own.
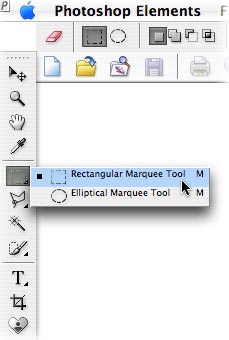
The first step is to select a single row of pixels to stretch. In Photoshop, there's a tool specifically for this and it's called (cleverly) the Single Column Marquee Selection Tool. Hah! Those kids over at Adobe are sharp as tacks. Over in the Land of Elements we don't have that tool, but we can select a single column of pixels just the same.
Step 1: Pop open a Soon To Have A Very Cool Warp Trail photo and press M to grab the Rectangular Marquee Tool.
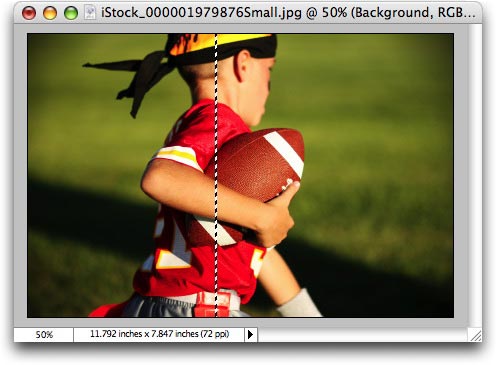
Step 2: Create a selection that appears to be about 1 pixel wide (i.e. very skinny).

Step 3: Use the arrow keys to nudge the selection over till the whole of it is touching the subject, and preferably where the shadows and lines in the image are all relatively horizontal, like so:
Step 4: So as to not harm the original image, press Command + J (PC: Ctrl + J) to "jump" the single pixel selection up onto its own layer. This is purely a self protective move. If we screw up, we can trash this layer and begin again.
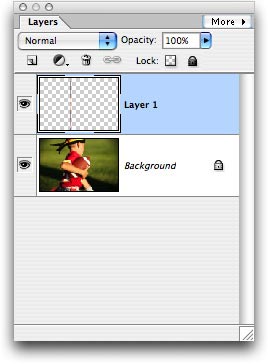
Step 5: With the new layer selected, press Command + T (PC: Ctrl + T) to summon the Free Transform tool (or choose Image > Resize > Transform). Grab the middle handle (circled below in red) and drag it to the edge of the document. Press Return to accept the transform.
Here's the finished product:

Isn't that fun? You'd be surprised how often I see this effect out in the wild, and now you know how simple it is to create.
Until next time, have fun creating your very own warp trail. Live long and prosper!


PhotoLesa's photography gear provided by: