
PhotoLesa's photography gear provided by:


Layer styles are great for adding finishing touches to your designs and they can really make text and graphical elements pop off your page. They’re also extremely flexible—they change as your layer content changes, they’re fully editable, savable, and so on. Since they appear on their own layer, they’re nondestructive and when you edit the content of your layer, the style updates automatically.
This is superpowerful mojo when it comes to text, as you will soon see. With a single layer style and the flick of your type layer's Fill opacity, you can create completely hollow, 100% see-through text. Here's how to do it.
Step 1: Pop open a Soon To Be Topped With Text photo, like this wheelie shot of the great Valentino Rossi (who is sure to win the '08 MotoGP world championship WOO HOO GO VALE GO!!!!!). Ahem.
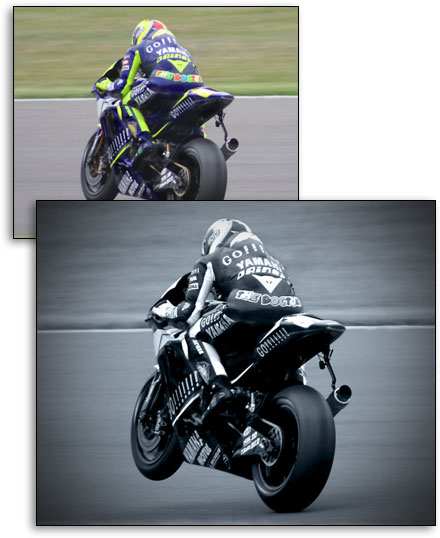
At the left you can see the original photo by Ozzie (published under Creative Common License), and my version of it after a adding a Black & White Adjustment layer with just a touch of blue tint. I also sharpened it and added the dark edge vignette using the Lens Correction filter. Frak I love Photoshop.
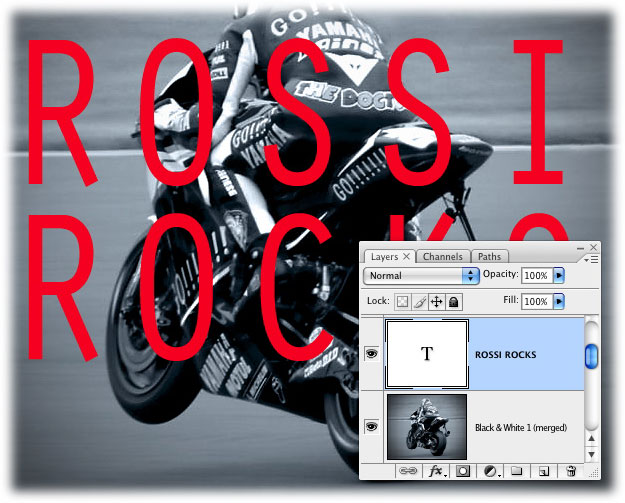
Step 2: Press T to grab the Type tool and create some text. Don't worry about what color the text is because you're fixin' to make it hollow in a minute. From the Options bar at the top of your screen, pick a font (Orator Std was used here at 196 points).
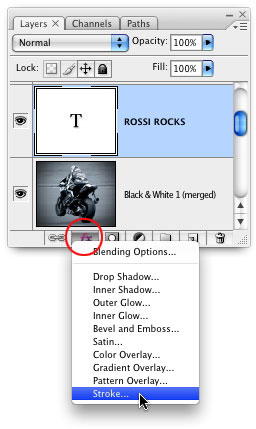
Step 3: At the bottom of your Layers palette, click the little fx button and choose Stroke.
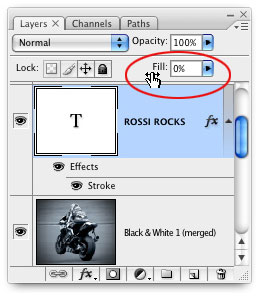
Step 4: All layers begin life at 100% opacity, meaning you can’t see through them (unless where they’re empty). If you want to make a layer semi-transparent (partially see-through), you can tweak its Opacity setting. You can also tweak a layer's Fill though it's a little different in that it doesn’t affect the whole layer. When used with a shape or type layer, lowering the Fill will lower the opacity of the color inside the shape or letters, but it won’t change the opacity of any layer styles you’ve added. That being said, locate the Fill setting at the top of your Layers palette and drag it all the way left.
Tip: If you hover with your mouse near the word Fill, you get a little scrubby cursor that you can drag left or right to decrease/increase Fill. If you'd rather use your keyboard, press V to activate the Move tool (just go with it), press and hold the Shift key and type 1 for 10%, 2 for 20%, 35 for 35%, and so on (type 0 for 100%). To change the Opacity instead, release the Shift key while typing the numbers.
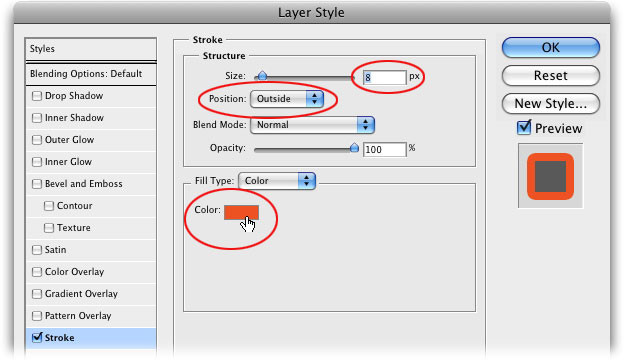
Step 5: In the resulting Layer Style dialog box, make the stroke size about 8 pixels, choose Outside for Position (so the stroke appears on the outside of your letters instead of taking up space on the inside), and then click the little color swatch to pick a stroke color. Press OK when you're finished.
Here's the finished product:
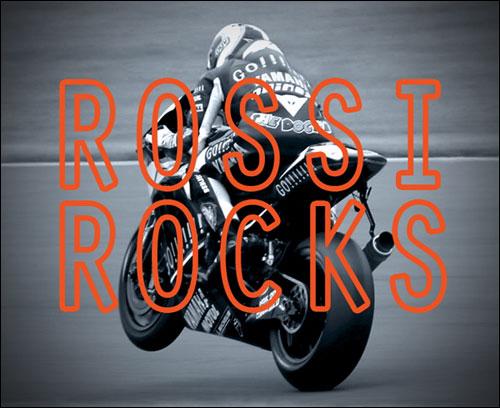
Suhweet! Now you have completely hollow, 100% see-through text. It's a fun way to add text to your photos and not take away from the photo itself (well, not too much anyway). If you don't like the font you picked, just double-click the type layer and pick another font; your style will adjust itself automatically. See what I mean about layer styles and type?!
Until next week, may the force be with Rossi as he makes his way toward the 2008 MotoGP world championship! GO VALE GO!!!!!!


PhotoLesa's photography gear provided by: