
PhotoLesa's photography gear provided by:


Hey you Led Zeppelin fans (yes I had fun with the title)! Today I want to bequeath to you one of my very favorite Photoshop tricks. It's fast, it's easy, and I use it on almost every human photo I encounter.
It seems like there's always an over abundance of red areas (especially in skin tones), where normal color correction techniques fear to trot. The way to zap such a contrary color cast is by using a Hue/Saturation adjustment layer. This technique is 100% guaranteed to get the red out each and every time, and it works in both Photoshop and Photoshop Elements.
Step 1: Open the offending photo, such as this Hippy Man I found on istockphoto.com earlier today when searching for "big sunglasses."
Step 2: Create an adjustment layer by clicking the half black/half white circle at the bottom of the layers palette, and choose Hue/Saturation. NOTE: In Photoshop Elements, the half black/half white circle lives at the *top* of the layers palette.

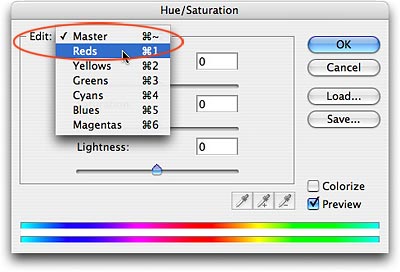
Step 3: From the Edit pop-up menu, choose Reds.
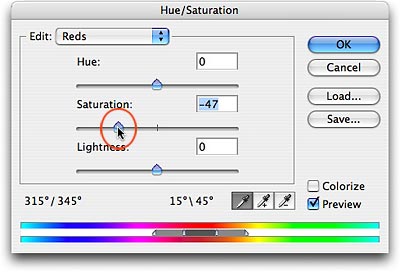
Step 4: Pull the saturation slider to the left a bit. Be careful not to take too much red out, a little goes a long way. Of course, that's the beauty of doing this trick with an adjustment layer; you can always delete that layer and begin again.
Here's the before and after:
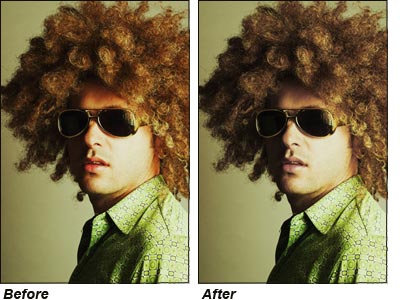
See the difference? Me thinks you will be using this trick a lot.
Since we used an adjustment layer, the original pixels remain unmolested, and we've given ourselves the ability to modify what we did. By double-clicking the adjustment layer, the Hue/Saturation dialog box will dutifully pop open ready for your command. Sweet.
There are a couple of other neat ways to use this technique:
That's all for now! <insert voice of Robert Plant> "And now the time has come for me to sing my song..."
Until next week, ramble on ;)


PhotoLesa's photography gear provided by: