
PhotoLesa's photography gear provided by:


Ever look at a photo and not be able to tell if it's an illustration or painting? Well that's what today's technique is all about. With a well-chosen filter here, and adjustment layer there, you can create an effect in Elements that's unique, beautiful, and gloriously creative. I've officially dubbed this effect the Fall Painterly Effect because depending upon the image, this technique can produce something like an illustration or something more like a watercolor. That title sounded better than Fall Illustration and/or Watercolor Effect; or, at least it did in my head.
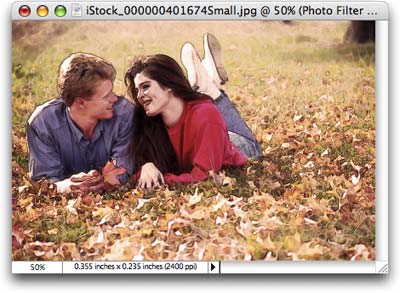
We'll start out with a disgustingly sweet and obviously staged (nobody does this in real life!) photo a couple lounging on a blanket in the fall leaves. And friends, you have two guesses as to where I got this photo and the first one doesn't count—it's from iStockphoto.com of course :)
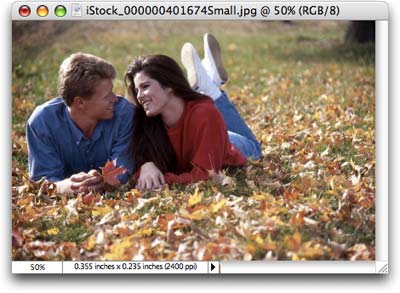
To get something remotely similar to an illustration we need a grayscale image, so that's where we'll start.
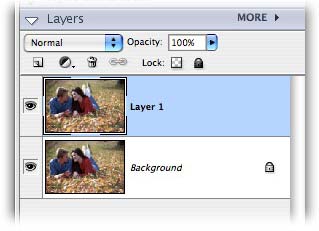
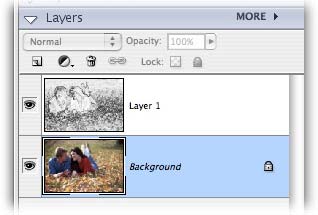
Step 1: Pop open the Soon To Have A Fall Painterly Effect image. Immediately duplicate the background layer by pressing Command + J (PC: Ctrl + J). Now you should have a layers palette that looks like this:
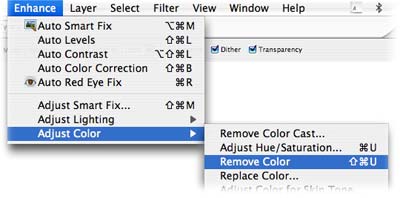
Step 2: Remove the color from the photo by choosing Enhance > Adjust Color > Remove Color, or by simply pressing Shift + Command + U (PC: Shift + Ctrl + U).
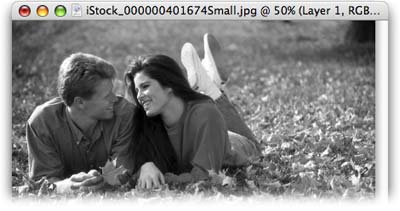
Now we have a nice grayscale image:
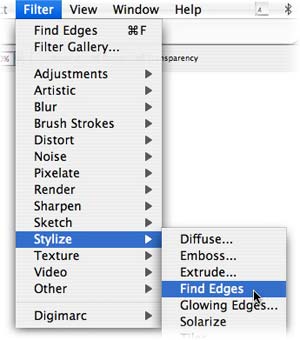
Step 3: Choose Filter > Stylize > Find Edges.
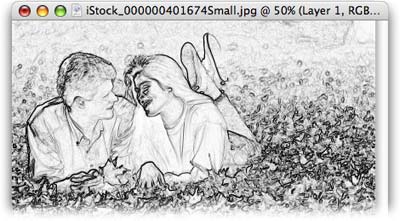
Don't panic at what the photo turns into; we'll fix it in a minute:
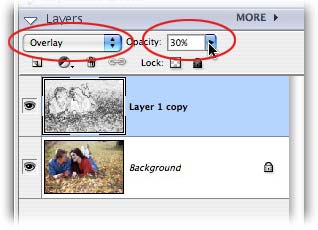
Step 5: In the layers palette, change the blend mode to Overlay and lower the Opacity to 30%.
Now that we have a slight illustration look going on, we can play around with the color of the image a bit. To commemorate the first day of Fall, let's apply a Photo Filter set to orange.
Step 6: Select the original layer in the layers palette (it'll turn light blue, as shown below)
Step 7: Create an adjustment layer by clicking the half black/half white circle at the top of the layers palette, and choose Photo Filter.
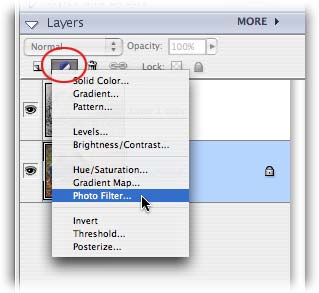
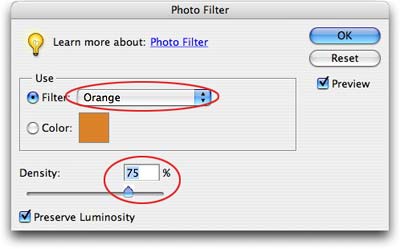
Step 8: From the resulting dialog, choose Orange from the pop-up Filter menu and pump up the Density to about 75%. Press OK.
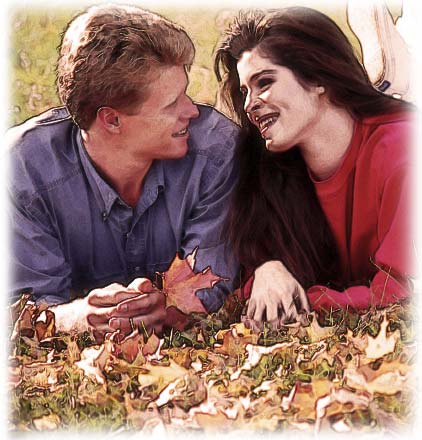
And here's the final effect:
 Here's a piece of it at 100% so you can see the detail:
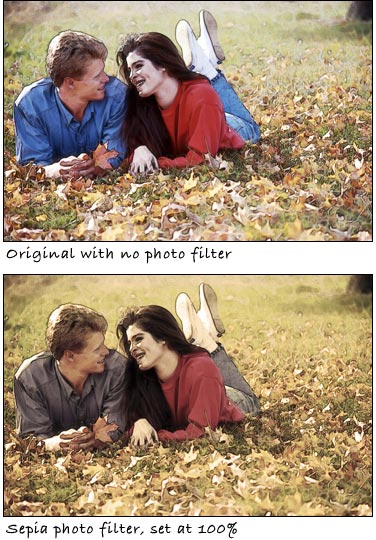
Feel free to play around with different filters in the Photo Filter dialog. To do so, just double-click on the adjustment layer in the layers palette to bring the dialog back. For example, here's the original image with no Photo Filter, an another using Photo Filter > Sepia, set at 100% density:
That's all for now folks! Until next week, may the creative force be with you :)


PhotoLesa's photography gear provided by: