
PhotoLesa's photography gear provided by:


Continuing on in Part 2 of this series using the photo of Leslie and I, let's take care of a few minor (ahem!) imperfections on our faces. Luckily, Elements has a couple of brushes perfectly suited for this job: the Spot Healing Brush and the Healing Brush. In this tutorial, we'll use 'em both.
Since we're about to perform some rather delicate detail work, let's spend a moment arranging our workspace.
Step 1: With the offending photo open, choose View > Open New window for [document name].
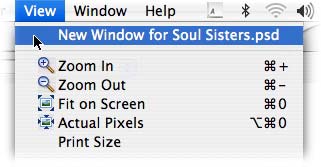
Keep one window at roughly the size the photo might print, and zoom really far into the other.
TIP: Press Command +/- (PC: Ctrl +/-) to zoom in/out.
This is what my workspace looks like:
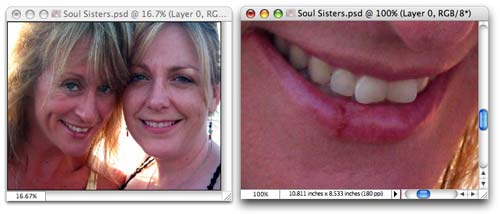
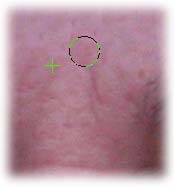
The very first thing we need to do is heal the fever blister on Leslie's lip. Poor thing!
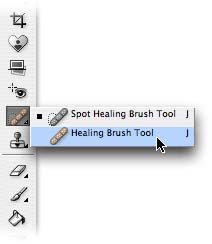
Step 3: Select the Spot Healing Brush from the main Toolbar.
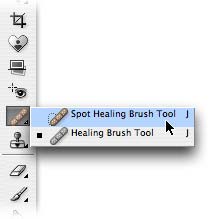
Mouse over to the document and position the brush cursor over the offending blemish. Click one time to make the spot vanish. TIP: You want the brush to be roughly the same size as the blemish itself. If necessary, press the left bracket key, [, to go down in brush size, or the right bracket key, ], to go up.
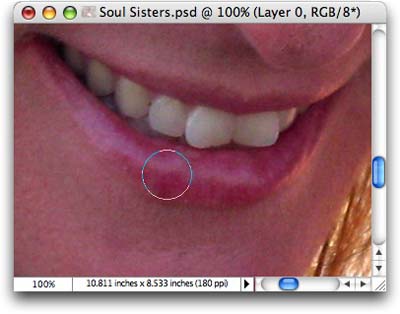
Poof! As you can see above, the painful blister is history. The Spot Healing brush is perfect for, well, spots :)
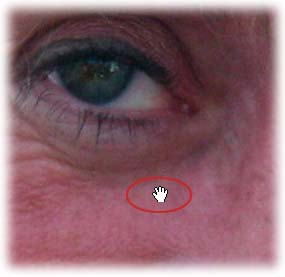
Now it's time to attack the bags we're both are carrying under our eyes.
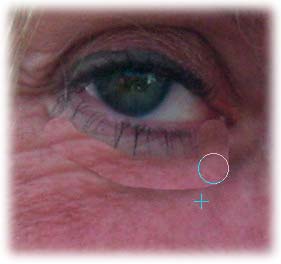
Step 4: While holding the Spacebar, mouse over to the eye area in the zoomed-in document. Your cursor should morph into a little hand, as shown below.
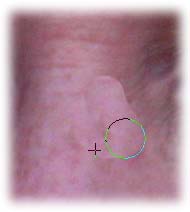
Step 5: Select the Healing brush from the main Toolbar.
Press the Option key and sample a bit of good skin area close to the eye, as shown below. Your cursor will turn into a little crosshair within a circle.
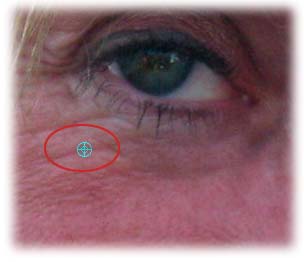
Step 6: Release the Option key and paint the bag away.
Step 7: I didn't quite get it all, so I'll resample another area near the area I want to fix. Option click (PC: Alt click) to sample.
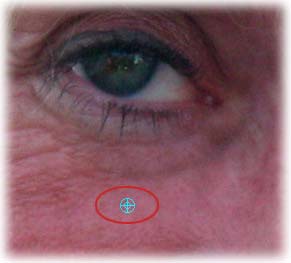
Again, brush the unsightly area away.
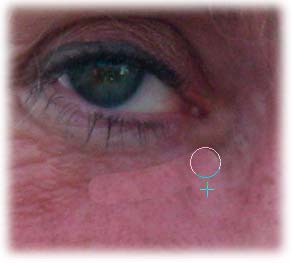
As you can see below, the Spot Healing brush did a pretty impressive job, didn't it?! Now let's work on me.

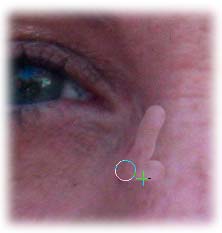
Step 8: Press and hold the Spacebar and mouse over to another offending eye area and repeat the above process. Just Option click (PC: Alt click) to sample an area near what you're fixing, then brush the bag away.

While we're at it, I think I'll zap those worry lines of mine:
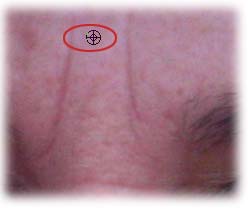
Whee! Watch 'em disappear!
And let's get those sunglass marks off the bridge of my nose too:
Again, I keep sampling near the area I'm fixing.
Here's a before and after:
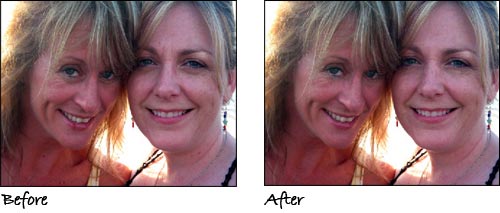
Ah, that's much better. Tune in next week when we'll whiten and brighten our teeth and eyes.


PhotoLesa's photography gear provided by: